单片机:第六篇 奇奇怪怪的方法之————使用Arduino框架编译STM32(基于PlatformIO平台)
本文最后更新于:7 个月前
并没有什么用的技巧之把你手上的STM32当做Arduino来使用。
前言
What is PlatformIO?
PlatformIO is an open source ecosystem for IoT development.
Cross-platform IDE and unified debugger.
Remote unit testing and firmware updates.
PlatformIO 是一个用于物联网开发的开源生态系统。它提供跨平台的开发环境和统一的调试器,还支持远程单元测试和固件更新…
PlatformIO支持CMSIS、Cube、Arduino和libopencm3架构。
Arduino
很多人应该用过或者买过Arduino UNO/nano,这个是Arduino官方出的一个开发板,但是很多人不知道的是Arduino其实是一个开源的架构,起初是为了方便快速构建项目而做的。Arduino名称来源于一家名叫di Re Arduino的酒吧,该酒吧是以1000年前意大利国王Arduin的名字命名的。Arduino的设计者为了纪念这个地方他们常来的地方,他们将这块电路板命名为Arduino。
下载PlatformIO
PlatformIO 是独立于平台运行的,实际上它只依赖于 python,然而 python 在 macOS、linux 和 windows 都能完美适配. 也就是说 PlatformIO 的工程从一个电脑很容易迁移到另一个电脑,只需要拷贝再使用 PlatformIO 就能完美打开,不管团队中的成员使用什么操作系统 PlatformIO 可以让工程共享变得异常简单. 除此之外, PlatformIO 不仅可以在笔记本和台式机上运行,同样可以运行在没有显示桌面的服务器。PlatformIO 的核心(PlatformIO Core) 就是一个终端程序, 它能配合您喜欢的多款云 IDE、桌面 IDE 或者 通用代码编辑器构建 PlatformIO 的 IDE,比如 Atom, CLion, Eclipse, Emacs, NetBeans, Qt Creator, Sublime Text, VIM, Visual Studio, VSCode 等等。
vscode
可以在VSCode的扩展商店搜PlatformIO
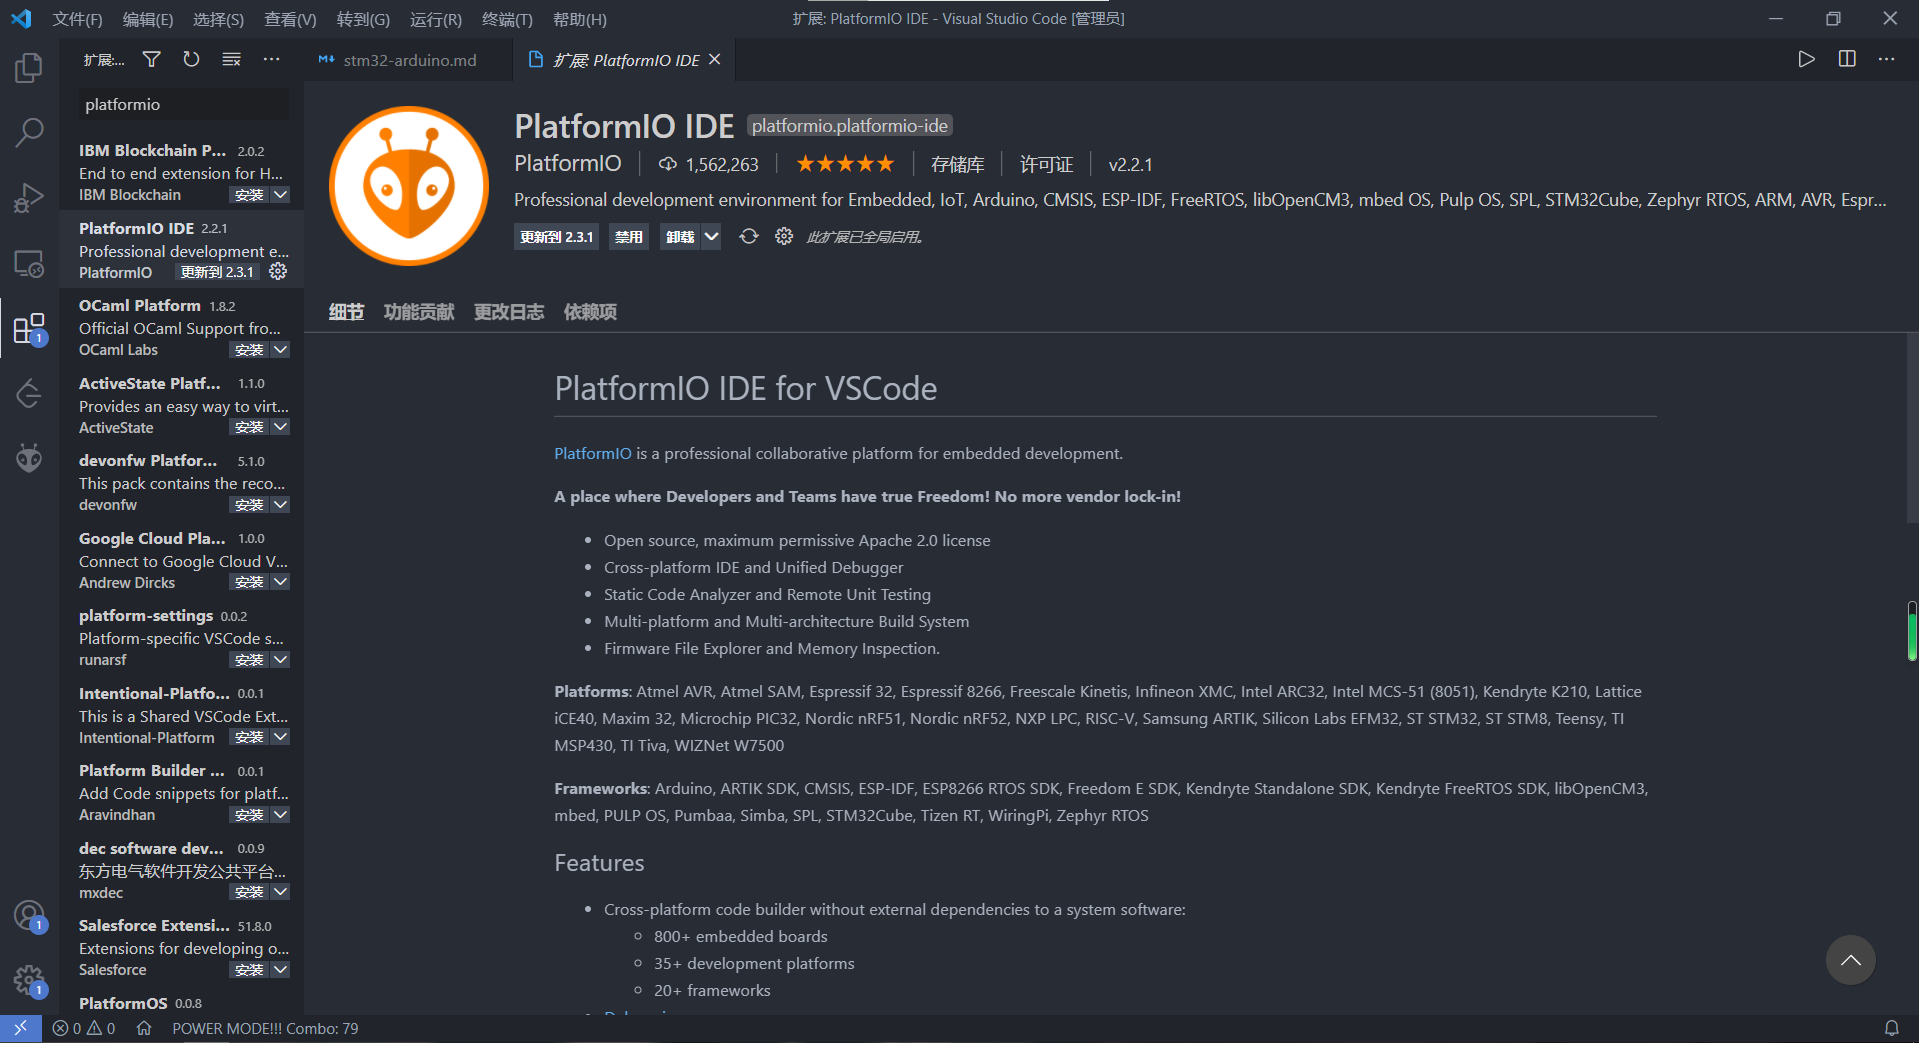
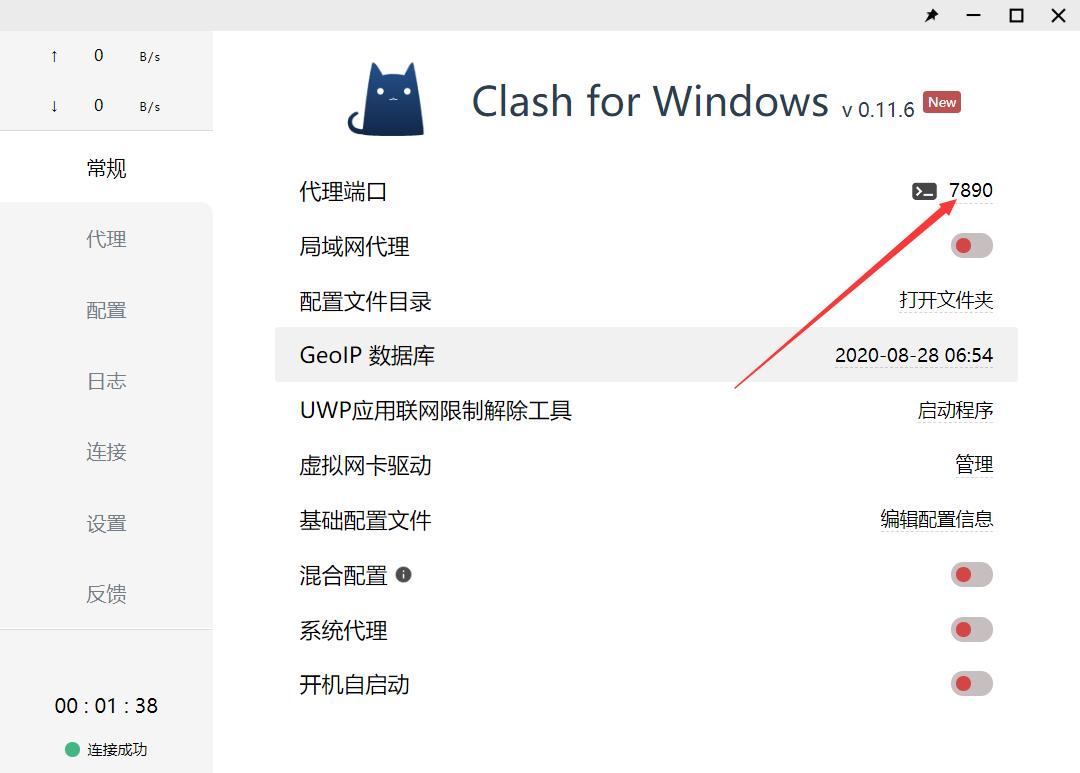
点击安装即可,当然,安装是简单了,但是你创建工程可能需要一点科学手段。在VScode里面设置代理,127.0.0.1指向本地,后面是代理软件的端口号。用完之后记得关闭就可以了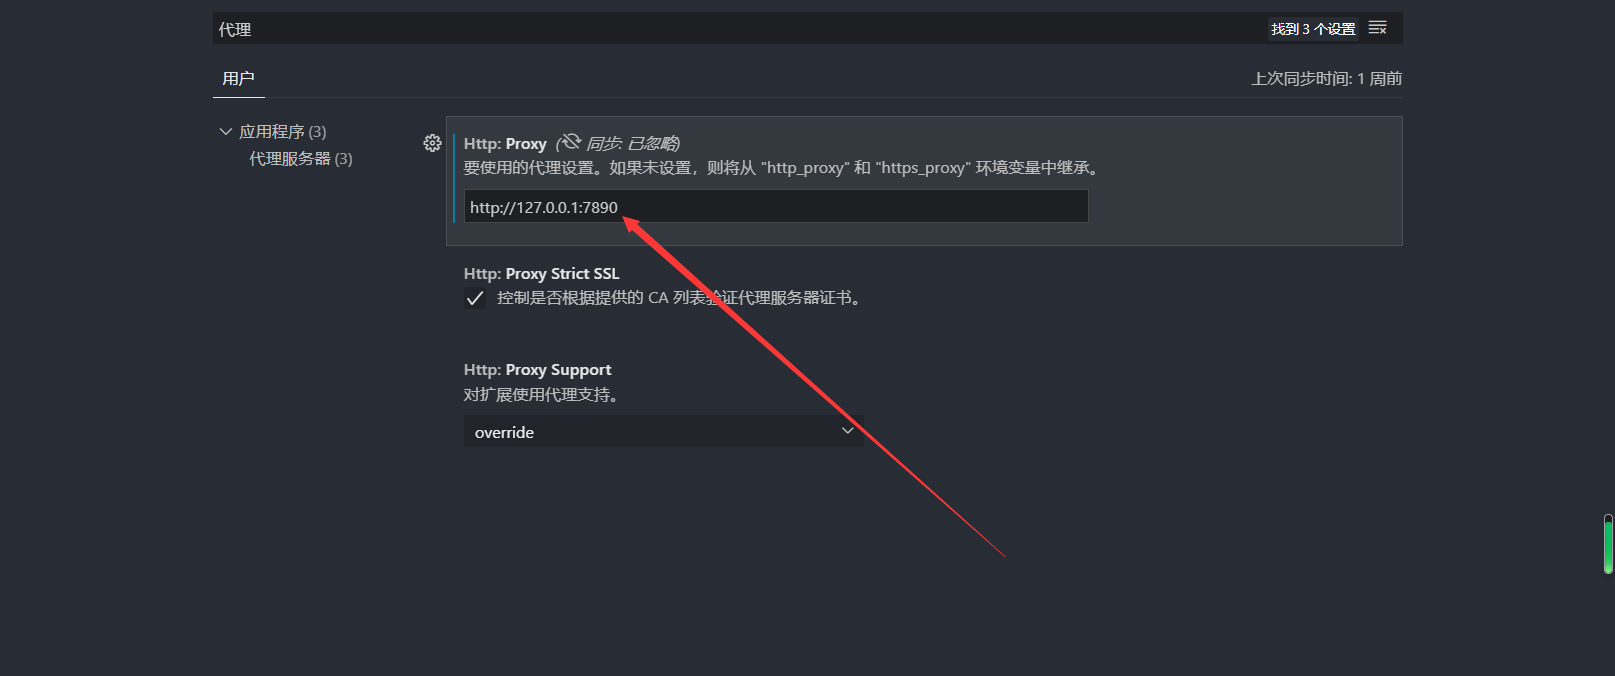
RT-Thread Studio
一下内容适用于RT-Thread Studio,当然在VSCode甚至其他平台也是一样的步骤,只是界面有所不同。
创建工程
当然,相对于VSCode来说,我还是更喜欢使用RT-Thread Studio来生成PlatformIO工程。RTThread官网
打开Studio后,点击右上角,新建通用项目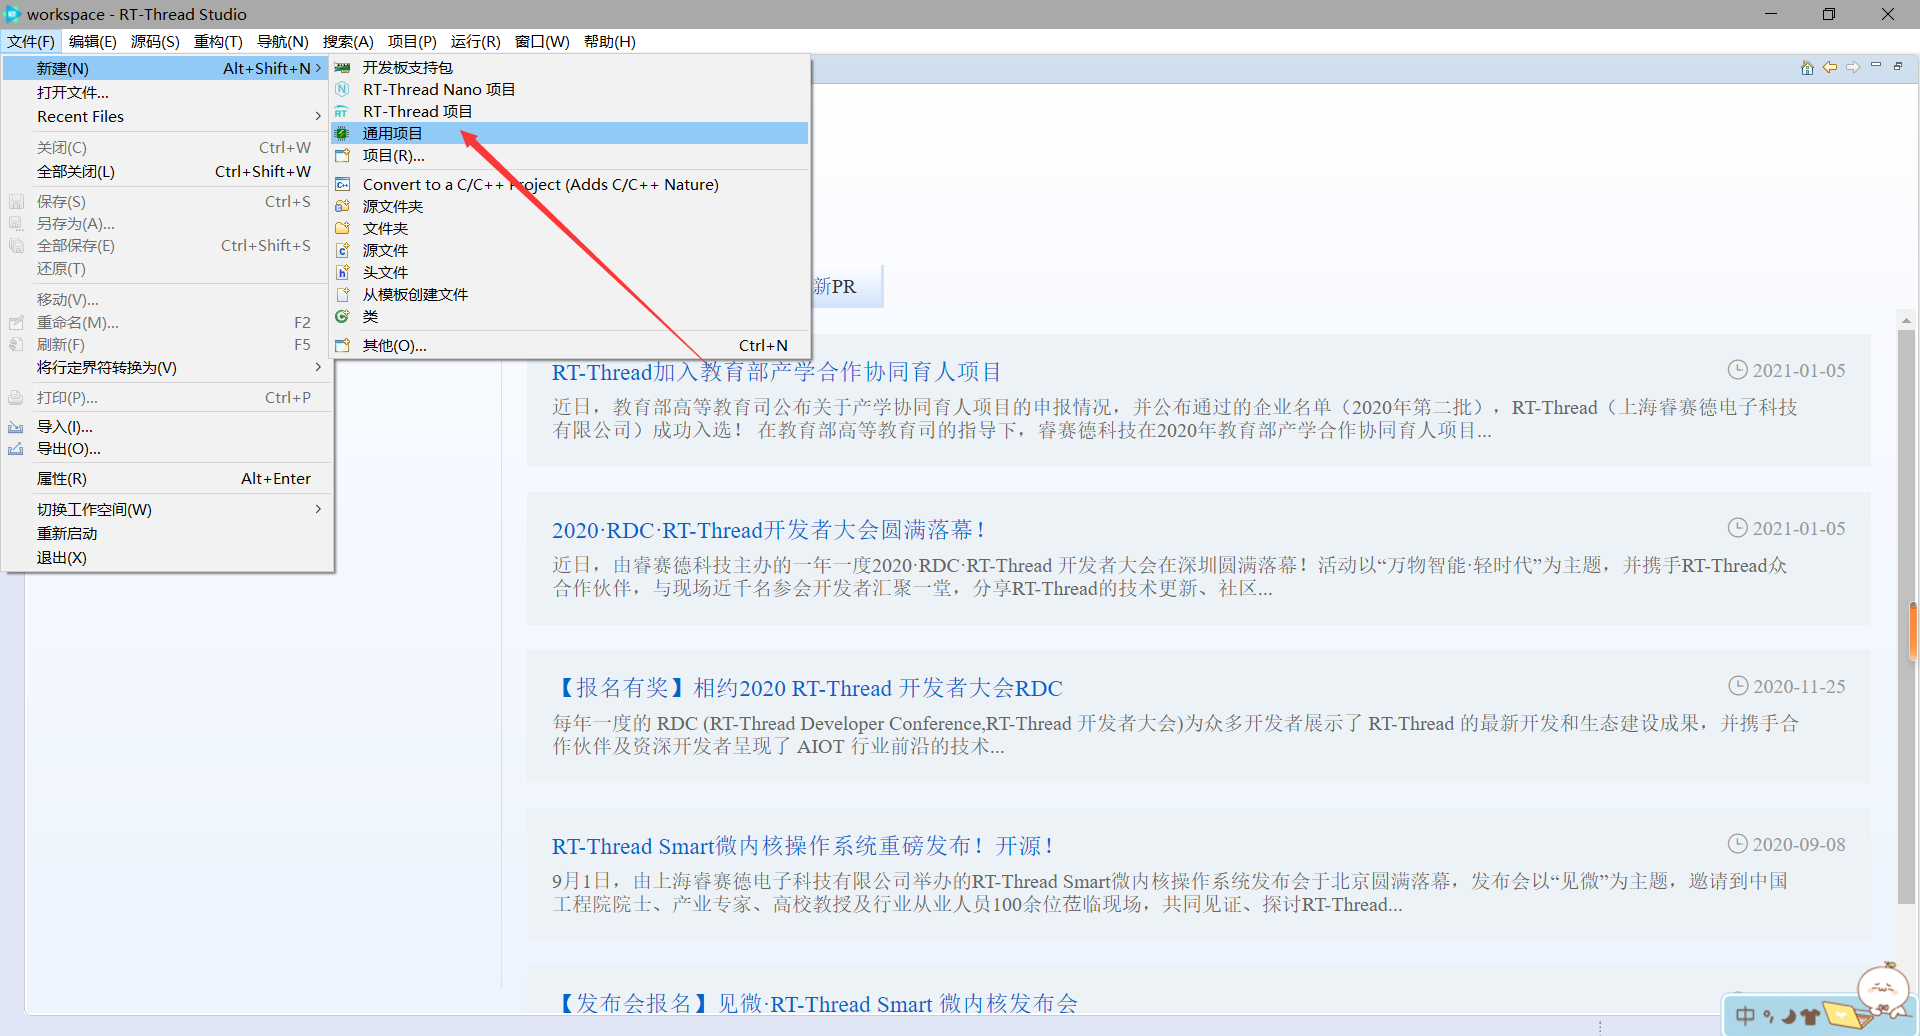
输入你的芯片如STM32F103C8搜索,选择Arduino架构,完成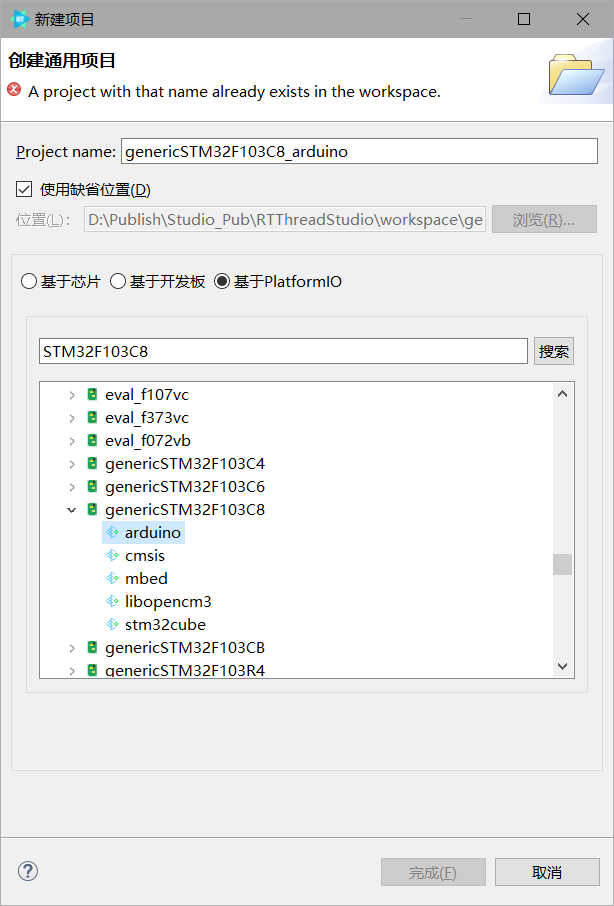
刚生成后可能会找不到工程,不急,点击文件下面的小短杆,工程就出现啦!
输入一段简单的Arduino代码,打开Src文件夹,打开main.cpp文件,将下面代码中的LED_PIN宏定义替换为你的LED灯的IO口。
1 | |
配置PlatformIO
双击打开PlatformIO.ini文件,添加配置信息,主要是调试与下载工具,我这里用的是STLINK,所以填写STLink就好了
1 | |
然后点击构建,不要急,第一次可能会有点慢,大概在200s左右。
构建完成后,使用STLink连接的单片机,再点击下载。那么等待下载完成,LED灯就开始闪烁了。
纯属无聊,哈哈哈,周末快乐。